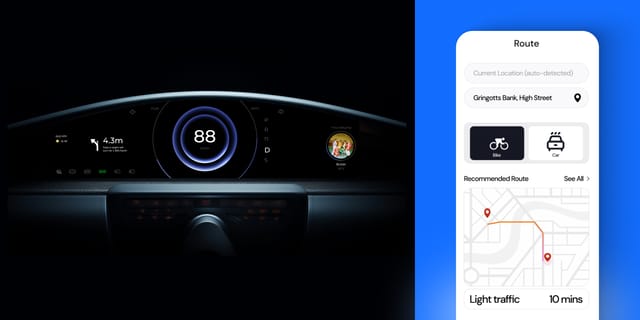
For much of the history of UI/UX, interactivity was built purely in code, which is kind of weird because interactivity is such a visual concept. Code is and forever will be powerful but variables on a screen can hardly capture abstract concepts such as feeling and satisfaction.
Tools like Figma and Framer (and even their predecessors) helped to bridge that gap. Designers were finally able to add some form of interactivity or animation to their work; however, in one way or another, it was still a downgrade from true interaction. These tools lacked capability such as motion, masks, or countless other techniques we take for granted that provide tangibility to our users.
Of course, there are tools that can accomplish all of these animation techniques, such as Adobe After Effects (AE). But tools like AE lack the capability to accept user inputs, which means any true interactivity must be done in code.
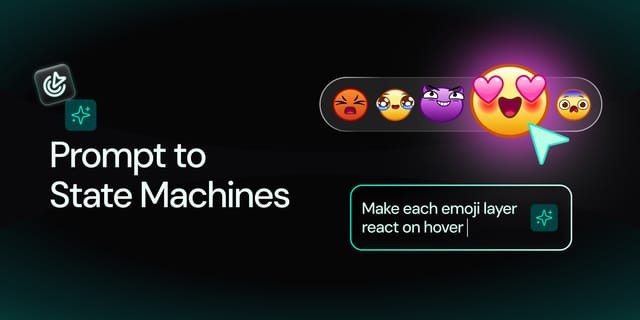
Introducing dotLottie State Machines
State Machines are a new feature of dotLottie. Technically, state machines already exist within the dotLottie spec, but they are finally within Lottie Creator and supported by the rest of the LottieFiles ecosystem.
We’re not saying that LottieFiles is the first to bring interactivity to animations, but it is the tool that comes with the least amount of baggage. It’s simply a game-changer because users can easily design, animate, connect to user actions, export, and host their work in a tiny dotLottie package all within LottieFiles.
The power is truly within the hands of designers when it comes to interactions. They no longer need to explain logic to developers hoping to be understood, nor do they need to build the entire design in Figma or AE only for it to be tossed out as a one-off prototype that doesn’t actually reach the user. Finally, designers can create human experiences in the way they know best: visually.
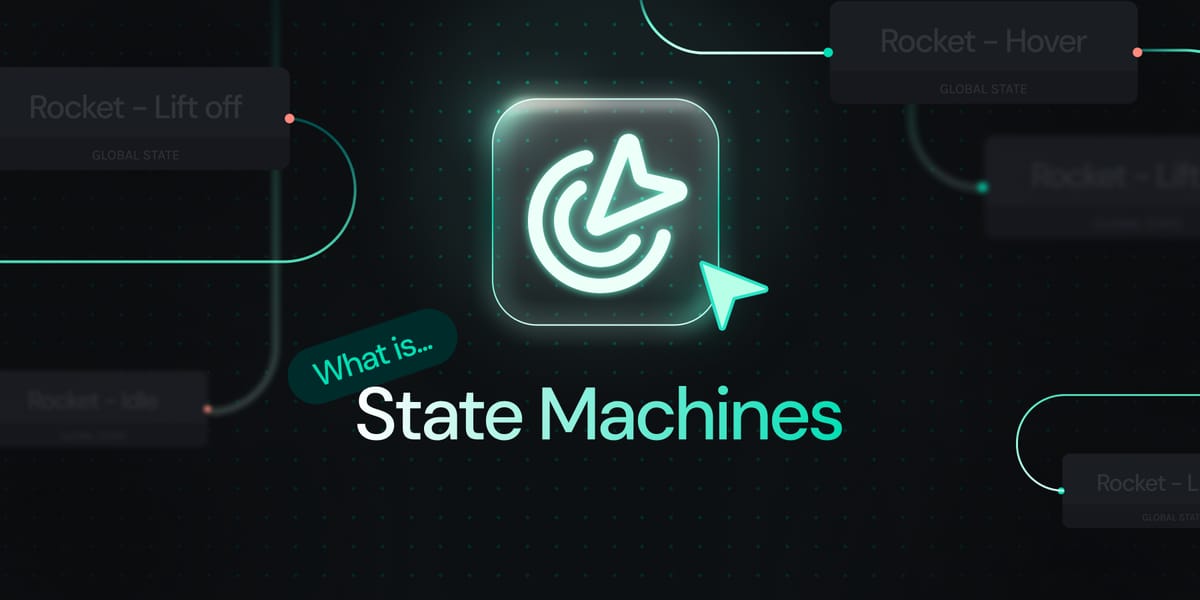
How do State Machines Work in LottieFiles?
State Machines take advantage of the growing capability of the dotLottie file format. Through dotLottie and Lottie Creator, designers have a few levers they can push to get what they want.
Segments & States
Animations can be broken up into segments, which can be cleverly designed to show an interactive element in different states. For instance, in the case of a button, you could animate it with these segments:
1) A segment of the animation that shows it in its idle state
2) A segment that shows its hover animation
3) A segment that shows what happens when the user clicks it
Later, these can be used as states that are played selectively under certain circumstances. For example: If the user hovers their mouse over the button, the state machine can show the hover segment.
Inputs
State machines rely on inputs to store and recall information. Designers who are familiar with code know these as variables. If you aren’t familiar with code, don’t worry! It isn’t hard to grasp.
Think of an input as a box to store some information. We can write a name on the box to show what’s stored inside, like “toys” or “clothes”. Of course, your design doesn’t care about objects around your house. Instead, we will keep data in the box that our state machine will use, like “number of clicks”. That way, we can store a number in the box and we know what that number does.
Later on we will use this number in our state machine. For instance, “After the user clicks a button three times, then change the button color to gold.”
Inputs don’t just have to be numbers; they can also be words (known as Strings), true/false toggles (Booleans), or even events (something that fires once). In the case of a button with hover and click states, we’d use booleans with one input called ‘Hovering’, and another called ‘Clicking’.
Interactions
Let’s not forget the most important part: human interaction. We can set up an interaction so that when the user clicks on the button, then the input changes accordingly.
For example, when the interaction for ‘Hovering’ changes to true, we want it to show the hover state. When the interaction for ‘Clicking’ is true, we want it to show the click state.
Interactions currently supported in Lottie Creator are:
1) Mouse Enter/Leave (when the user’s mouse hovers over the target element)
2) Mouse Down/Up (when the user clicks or releases the mouse on the target element)
With interactions, we can set all sorts of logic. Make booleans true/false, add 1 to a counter that records the number of clicks, etc. The possibilities are limitless!
Transitions & Conditions
Now that we have our inputs and a way for the user to change those inputs, we need to wire up our states and determine the logic between them.
Luckily, Lottie Creator makes all of this super easy. For starters, you can drag lines between your states to connect them. There’s an “in” side and an “out” side; generally, you go into one state after leaving another state.
If you click a transition line, you’ll see a simple yet powerful UI that allows you to decide the conditions required to enter the next state. For example, you can only cross the transition if ‘Number of Clicks’ is above 5. In the case of our simple button, we can make it so that transitioning between the ‘Idle’ state and ‘Hover’ state can only be done if the ‘Hovering’ input is true. We know that the input changes to true when the user hovers their mouse over the button, and it’s as simple as that!
States are even more powerful than you think
Click and hover states are the bread and butter of UI design, but there are so many more complicated and exciting techniques for interactions. States themselves can trigger different actions and change inputs, just like user interactions.
Tutorial: How to build an interactive animations using LottieFiles State Machines.
— LottieFiles (@LottieFiles) September 23, 2025
Define states, link transitions, add inputs. No code needed.
👉 https://t.co/rOeids39FM#LottieStateMachines #InteractiveAnimations pic.twitter.com/ulmnl01ZCd
One example is a traffic signal. We want the signal to stay green for 10 seconds, turn yellow for 3 seconds, and then turn red for 13 seconds. Here’s how we can accomplish this:
1) We’ll make each segment exactly 1 second long.
2) Each state increments a timer input by 1 when it finishes, and then we can play those segments in a loop.
3) With each loop, the timer will increase by 1, which means it is also recording the number of seconds that the state has been playing.
Once the number gets to 10, the traffic light will change from Green to Yellow and reset the timer input. Then it will start counting while in Yellow. When it gets to 3, it changes to Red and reset to zero. It will then start counting in Red, wait for the timer to reach 13, and then change back to Green where the timer is once again reset.
Deployment
None of this really matters unless you can actually use these animations and state machines. And that’s the true magic of dotLottie. You can choose to export as a single dotLottie file, which contains all of the parts of your state machine and animation, and is compatible across the web. And if that wasn’t easy enough, with the single click of a button, LottieFiles provides a link that you can just paste directly into your Framer or Webflow projects, meaning you don’t even have to look at the file.
With the dotLottie runtime, your animations can play on your apps on web, iOS, Android, and more. And the best part is that your state machines will actually work. You’ll no longer need to guide developers on your team on how to rebuild your designs in code; you now have the ability to do it yourself, courtesy of Lottie Creator.